So you want to create a building section in perspective that ooo's and wows the client or your
project manager? Fair enough. To do so let's start by going to an overall plan view, preferrably one that's large enough or has your crop regions turned off to get a full view of your building. From this view create a 3d view from View>Camera on your design sidebar like so...
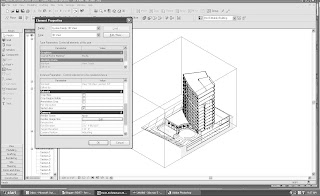
Now you should as always get a pretty 3d view that shows your building in glorious perspective. From here, we need to go to the view properties of your new 3d view these can be found in your 3d views on the side right click on the view or right click in your new 3d view and select properties. Scroll down and check the box that says "section box"

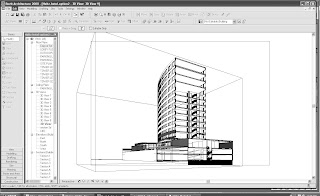
You should get a view now that looks something like this. Drag and pull the crop box to reflect the view you want to show and then go back to your 3d Camera View, it should show a section perspective of your building. Something like this.

From here you can toggle on and off the visibility of the crop box and apply shadows, etc.. from Revit. In the next tutorial we're going to export a section view to Viz/MAX even though some walk among us that don't believe it can be done!
Have a great Friday!

1 comment:
Hello, Revit to Max tut is greate. But where is the Revit tutorials of modeling in Revit. Pls rerfer me gud tutorials models link!
Post a Comment