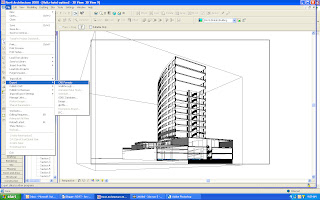
Let's take our Revit Section perspective model to MAX. Based on the previous tutorial we now know that we have our view camera and section box setup. So we can take our 3d view...
And export it as an ACAD .dwg or however you like to export your files to get them into MAX. (I prefer ACAD dwg's because the plane and vertices editing in Max is quite a bit easier.) To do this go to File>Export>CAD Format

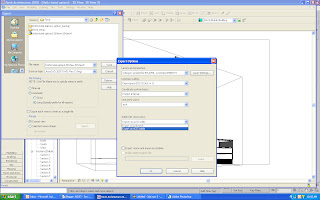
On a side note apparently I've switched to color now...moving on. The following dialog box will come up. MAKE SURE YOU CLICK OPTIONS! Before you export your drawing! I guess it's not that dramatic if you're a 3d max/viz pro, but you'll want to change your exporting options to ACIS Solids before you do. Like so...

Alright save the file as an ACAD version your MAX/Viz will recognize. (I've had some problems importing later CAD versions with later MAX versions) Then open Max.
From Max, select File>Import>and then select your file. Select Completely Replace Current Scene and then ok. You should get a nasty message that says your crop box will be ignored and the world as we know it is coming to an end. This is basically to fake you out and if you are a worthy Revit guru you will click OK anyways and open your file. Miraculously your crop box region has been saved and looks exactly like it did in Revit. As follows...
Word to your mother. Now assign materials, work your lighting magic and get a raise.
Lates


1 comment:
Easy 'nuff - thanks!
Post a Comment